Your cart is empty
Your cart is currently empty. Let us assist you in finding the right product.

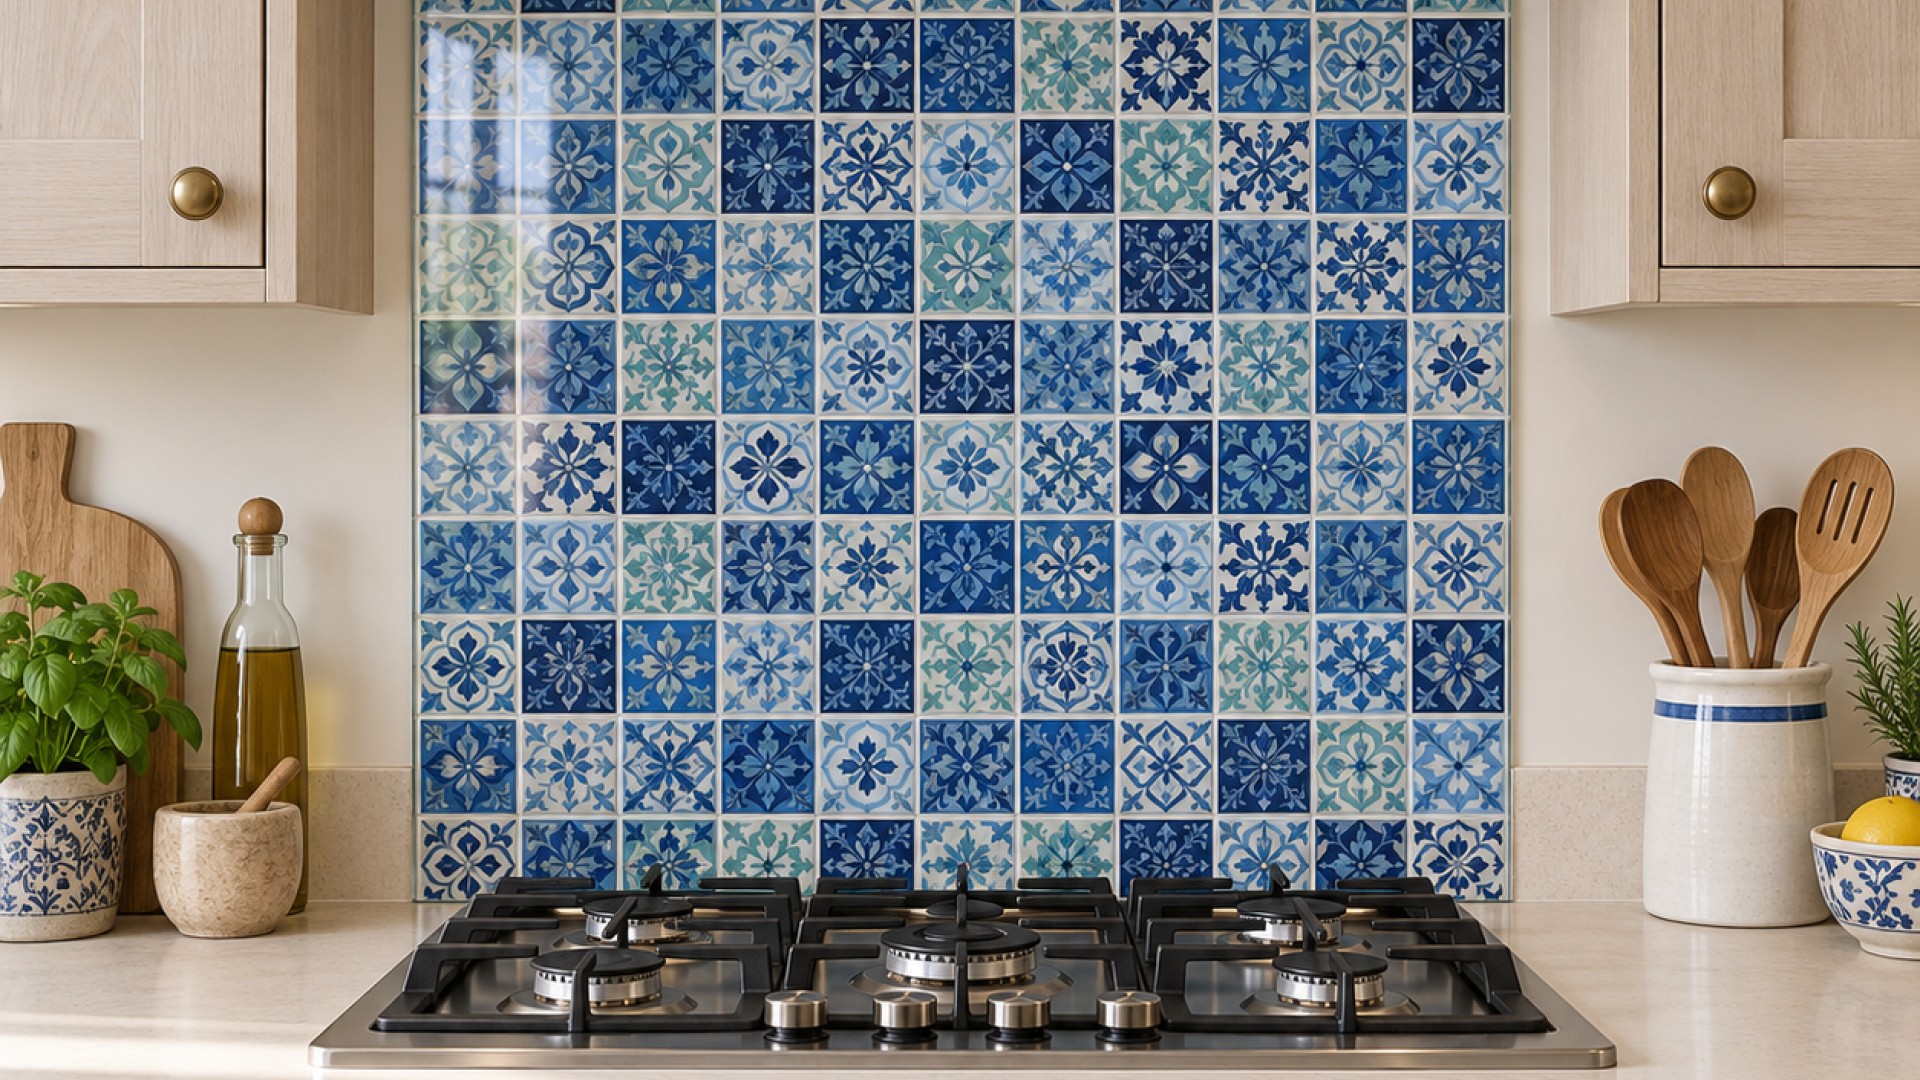
Choosing the right Wafanoor custom size splashback starts with accurate measurements. Whether you are updating a compact kitchen, planning a full renovation, or adding a decorative glass panel behind a worktop, getting the dimensions right helps create a neat, well-fitted finish. A splashback that fits the available wall space can complement your cabinets, worktops, and appliances while providing a practical surface for everyday kitchen use.
Measuring for a custom splashback may seem complicated at first, especially when the wall includes sockets, switches, corners, or irregular edges. However, breaking the process into manageable steps makes it easier to collect the information your supplier or installer needs. The key is to measure carefully, record every relevant detail, and confirm the final specifications before the panel is manufactured.
In this guide, you will learn how to measure a splashback area, identify obstacles, plan cutouts, avoid common mistakes, and prepare for a smooth installation. These steps can help you approach a custom-sized splashback project with greater confidence.
Standard-sized splashbacks can be suitable for straightforward installations, but not every kitchen has the same dimensions. Worktop lengths, cabinet heights, window positions, and wall layouts vary from one property to another. A custom-sized panel can be designed around the dimensions of a particular installation area, subject to the supplier's available options.
One of the main advantages is the potential for a more tailored appearance. A panel that is sized to suit the space can follow the intended layout more closely, reducing the need to make visual compromises around the edges.
Custom sizing may also offer more flexibility when planning a decorative feature. You could choose a splashback for the area behind a sink, a section between worktop and wall cabinets, or a specific cooking zone where the selected material is approved for that use.
However, custom sizing does not automatically guarantee a perfect fit. The finished result depends on accurate measurements, the condition of the wall, the panel's material and thickness, the installation method, and how the manufacturer interprets the dimensions you provide.
Preparation is just as important as taking the measurements themselves. Before using a tape measure, make sure you understand exactly which part of the wall the splashback will cover.
For a typical rectangular splashback area, you may need:
A laser measuring tool can also be useful, but it should be used according to its instructions and checked against the actual installation dimensions where necessary.
Do not rely on memory. Record every measurement immediately and label it clearly so that width, height, and cutout positions cannot be confused.
Ideally, take final measurements after the cabinets and worktop have been installed and their positions are confirmed. If you measure before the kitchen is fitted, later changes to cabinet height, worktop depth, or wall finishes may affect the required panel dimensions.
Check whether the wall surface is complete and whether any tiles, coverings, or trim will remain behind or beside the splashback. The measurement must reflect the intended finished installation, not a temporary construction stage.
If the wall is uneven, damaged, or visibly out of square, ask the installer how the final dimensions should be established. A single measurement may not represent the entire installation area.
Start by deciding where the panel will begin and end. For example, it may extend from the top of the worktop to the underside of the wall cabinets, or it may cover a larger section of wall.
Identify the left and right boundaries, the lower edge, and the upper edge. Check whether the panel will meet a side wall, a cabinet, a window frame, or another surface.
Mark these boundaries on a simple sketch. The drawing does not need to be technical, but it should make the layout clear to someone who has not visited your kitchen.
If you plan to cover more than one wall section, draw each section separately and label them. Do not assume that adjacent walls meet at a perfect right angle or that two panels will have identical dimensions.
Measure the width of the area that the splashback is intended to cover.
For a straightforward rectangular space, place the tape measure between the two planned side boundaries. Keep the tape straight and ensure that you are measuring from the correct reference points.
For additional confidence, measure the width near the top, middle, and bottom of the area. If these measurements differ, the wall or surrounding units may not be perfectly aligned.
Record every reading rather than choosing one without checking the difference. The appropriate finished width may depend on the panel material, edge details, installation gaps, and the manufacturer's requirements.
Do not automatically use the shortest or longest measurement as the final size. Ask the supplier or installer how variations should be handled, particularly if the panel will be made from glass or another material that cannot easily be adjusted on site.
Next, measure the distance between the intended lower and upper edges of the splashback.
In many kitchens, this means measuring from the finished worktop surface to the underside of the wall cabinets. However, the required height may differ where the panel is positioned beside a cooker, around a window, or along a section without upper cabinets.
Take height measurements at the left, centre, and right sides of the area. Compare the results to identify any variation in cabinet height, worktop level, or wall shape.
Record the points clearly on your sketch. If the splashback area has multiple heights, steps, or angled sections, draw the outline rather than describing it only in words.
Remember that the required finished dimensions are not necessarily identical to the rough wall measurements. The manufacturer or installer may need to account for specified fitting clearances, edge treatments, or other installation details.
Sockets and switches are among the most important details to record when ordering a custom splashback. A panel may fit the overall wall dimensions but still require careful planning if electrical fittings are located within the covered area.
For each socket or switch, record its position relative to a clearly identified reference edge. This typically includes the distance from a side boundary and the distance from the bottom or top of the splashback area.
Also note the dimensions of the required opening and whether the fitting is a single socket, a double socket, a switch, or another type of outlet. A simple diagram showing every opening is often easier to understand than a list of measurements alone.
Be consistent about the points from which you measure. For instance, do not measure one cutout from the centre of a fitting and another from its outer edge without identifying the difference.
Never assume that a socket can simply be moved slightly during installation to compensate for an incorrect measurement. Changes to electrical fittings must be assessed and completed by an appropriately qualified professional.
For glass panels and other materials that require specialist fabrication, all openings should be confirmed before manufacturing begins.
Not every splashback area is a plain rectangle. Taps, window frames, shelves, cabinet sides, extractor units, pipes, and decorative trim may influence the panel outline.
Make a note of any feature that the splashback must fit around or meet neatly. Record its position, dimensions, and relationship to the panel boundaries.
For a window, you may need to measure the width of the opening and the distance from the window edges to the planned splashback boundaries. For pipes or unusual wall features, photographs and a detailed sketch can help clarify the layout.
If an obstacle creates a notch, corner, or irregular cutout, ask the supplier for the preferred template or drawing format. Some manufacturers may require a more detailed plan for non-rectangular designs.
Do not rely on verbal descriptions alone when precise fabrication is involved. A clearly labelled drawing reduces the risk of misunderstanding.
Once you have collected the measurements, organise them into a simple record.
| Measurement | What to record |
|---|---|
| Overall width | Width at the top, middle, and bottom |
| Overall height | Height at the left, centre, and right |
| Side boundaries | Where the panel begins and ends |
| Cutouts | Size and position of every opening |
| Obstacles | Windows, pipes, taps, shelves, and trim |
| Wall conditions | Uneven surfaces, corners, and visible variations |
| Material details | Selected product and any supplier requirements |
For a basic rectangular area, the approximate wall coverage can be calculated by multiplying the width by the height, using the same units for both measurements.
For example, a space measuring 180 cm wide and 60 cm high has a nominal area of 10,800 square centimetres, or 1.08 square metres.
This calculation is useful for estimating the size of the installation area, but it is not a substitute for the finished dimensions required for fabrication. Cutouts, irregular outlines, joints, and fitting clearances still need to be addressed separately.
Do not subtract socket openings or apply fitting allowances unless the manufacturer specifically requests that information. Some suppliers calculate these details from a drawing, while others ask customers to provide exact finished dimensions.
Before submitting your dimensions, repeat the important measurements and compare them with your original notes.
Check that centimetres and millimetres have not been mixed up. Confirm which number refers to width and which refers to height. Make sure the top, bottom, left, and right positions are labelled consistently on both the sketch and the measurement list.
Review every socket and obstacle individually. It is easy to omit a small switch or record the correct size but the wrong position.
Take photographs of the wall from a few angles, particularly if the installation has unusual features. Photographs cannot replace measurements, but they can help the supplier or installer understand the layout.
If any measurement is uncertain, ask for guidance before placing the order. Clarifying a detail at this stage is generally easier than addressing an incorrectly manufactured panel later.
The measuring process can vary depending on the type of splashback selected.
Glass splashbacks often require highly accurate measurements because custom panels may include polished edges, corners, and openings for sockets or switches. For toughened glass, cutting and drilling generally must be completed before the toughening process, so dimensions and cutouts need to be finalised before production.
Confirm the required clearances and installation method with the supplier. Do not assume a glass panel can be trimmed or drilled after it has been manufactured.
Engineered stone panels may be heavy and may require specialist fabrication and handling. Measurements should account for the finished panel outline, seams, edges, and adjoining surfaces.
The supplier or fabricator should advise how to measure the area and whether a template is necessary. Confirm that the supporting wall and fixing method are suitable for the panel's weight.
Acrylic panels may offer more flexibility in certain applications, but their cutting, fitting, and heat limitations differ from those of glass or stone. Use the supplier's measurement instructions and check whether the selected product is appropriate for its intended location.
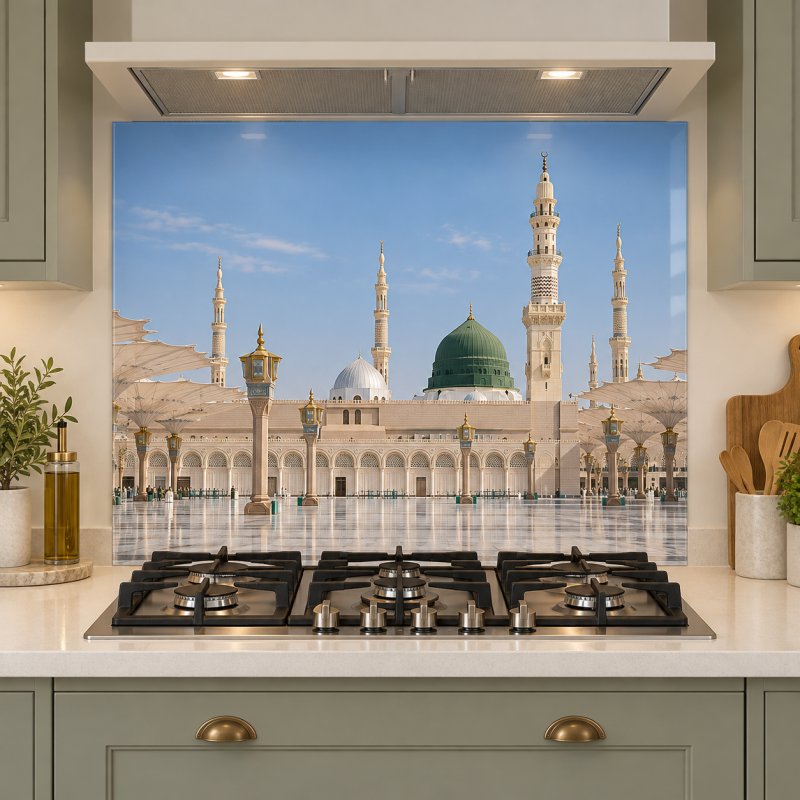
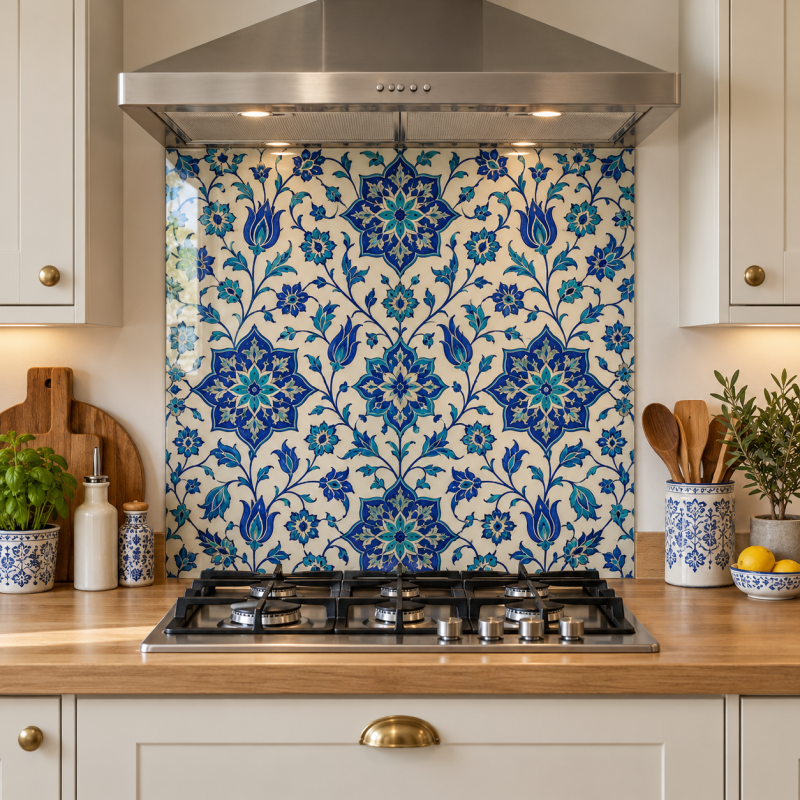
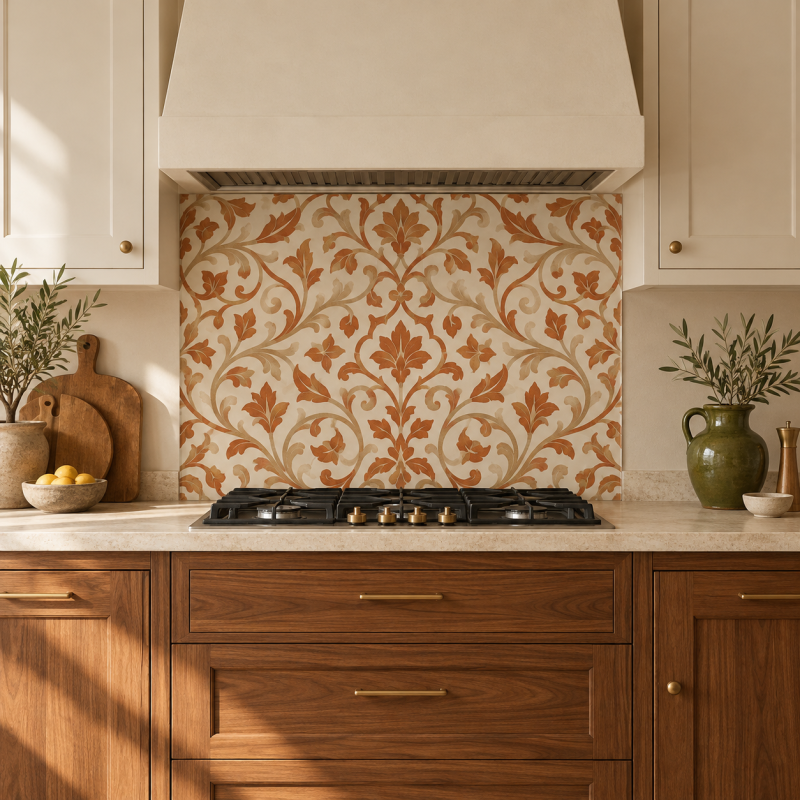
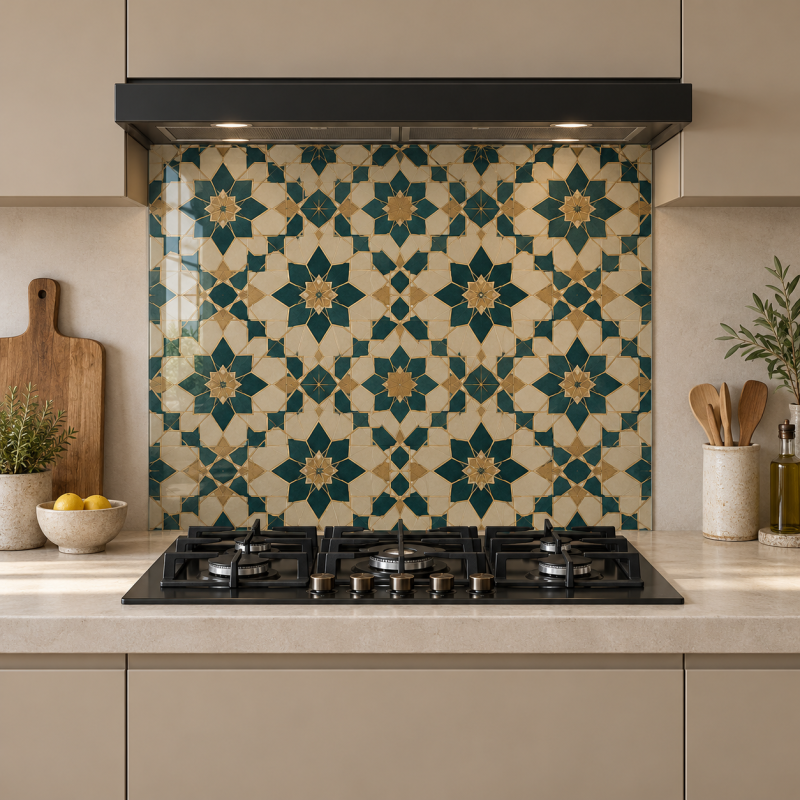
When a panel contains a repeating pattern, visible design, or distinctive image, the placement of the pattern may matter as much as the overall dimensions.
Ask whether the supplier needs to know which part of the design should be centred or aligned with a cabinet, hob, or other feature. If the splashback consists of multiple sections, discuss how the design should continue across the joins.
Taking final measurements too early can create problems if cabinets, worktops, or wall finishes change later. Where practical, wait until the installation boundaries are confirmed.
Walls, cabinets, and worktops are not always perfectly level or aligned. Measuring at several points can reveal variations that may otherwise go unnoticed.
A correct overall width and height do not guarantee that a panel will fit around sockets, switches, taps, or other obstacles. Include each opening in the measurement record and confirm its position carefully.
Measurements can become confusing if some are taken from the left edge and others from the centre of the panel without clear labels. Use a consistent reference system and explain any exceptions on the drawing.
Late changes may be difficult or impossible to accommodate, depending on the material and fabrication process. Review the final specification before approving production.
Different materials require different measurement and installation approaches. Always follow the guidance for the exact product rather than assuming that one method works for every splashback.
Once the measurements are ready, share your drawing and notes with the supplier or installer. Ask them to confirm that the information is complete and whether additional measurements, a physical template, or a site visit is required.
Clarify who is responsible for checking the final dimensions. Some projects use measurements supplied by the customer, while others rely on the installer or fabricator to complete a final site measurement.
Confirm the intended material, finish, thickness, edge treatment, cutouts, fitting method, and permitted installation location. Discuss any heat or moisture restrictions before ordering, especially if the splashback will be installed near a hob or cooker.
Keep a copy of the approved specifications and order details. This record makes it easier to check the delivered panel against the agreed design and to resolve questions before installation.
For Wafanoor options, check the individual product details and confirm whether the desired dimensions, finish, and cutouts are available before finalising your purchase.
Measure the full width and height of the intended installation area at several points. Record sockets, switches, pipes, windows, corners, and other obstacles on a labelled diagram. Confirm the final dimensions with the supplier or installer before manufacturing.
For a splashback positioned between a worktop and wall cabinets, this is usually the relevant starting point. However, the exact measurement depends on the planned panel boundaries and the product's installation requirements. Measure the finished area you intend to cover.
Yes. Record each socket or switch opening, including its size and position relative to clearly identified reference edges. Follow the manufacturer's instructions about how cutout dimensions should be supplied.
Toughened glass generally cannot be cut or drilled after toughening. Any required openings and final dimensions should therefore be confirmed before fabrication. Ask the supplier how changes are handled for the specific glass product.
Measure at several points and explain the differences to the supplier or installer. They can advise whether a template, additional preparation, or a different installation approach is required. Do not simply choose one measurement without checking how the panel will fit.
That depends on the material, panel size, weight, installation method, and your experience. Large glass and stone panels may require specialist handling and fitting. Follow the manufacturer's instructions and use a qualified installer when the work or material calls for professional expertise.
Not necessarily. Options depend on the supplier, material, available panel sizes, and fabrication requirements. Confirm the available dimensions and any restrictions before making a final selection.
A custom-sized splashback can give a kitchen a more tailored and coordinated finish, but accurate measurements are essential. By identifying the installation boundaries, checking width and height at several points, recording every cutout, and reviewing the finished specifications, you can reduce the risk of avoidable fitting problems.
The measuring process becomes easier when you work systematically and keep a clear record of every detail. Material selection, wall conditions, edge requirements, and installation restrictions should all be considered alongside the dimensions.
Before ordering a Wafanoor custom size splashback, double-check your measurements and confirm the final requirements with the supplier or installer. Careful preparation helps ensure that your chosen splashback fits the intended space and complements your kitchen design.
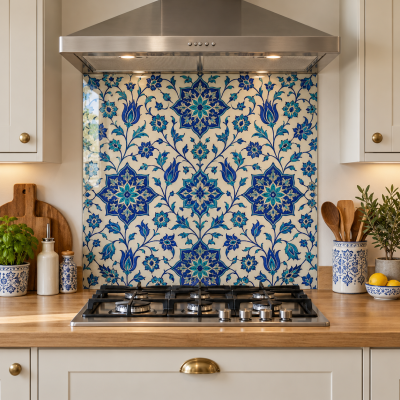
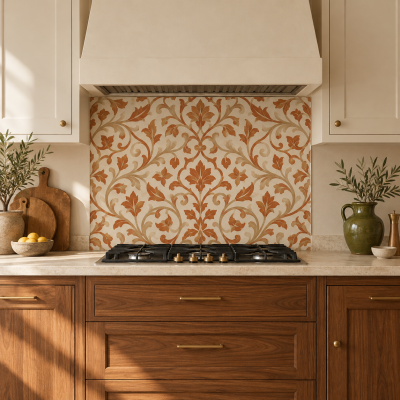
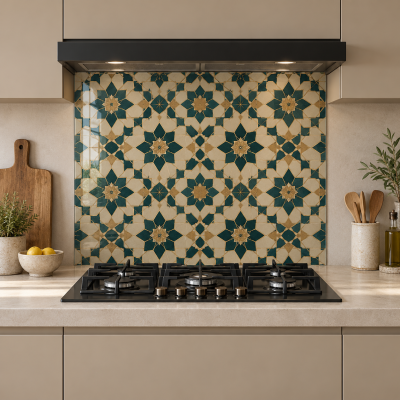
Discover more stories and style tips to keep your inspiration flowing.
Need Help?
Aydınlıkevler Mahallesi, 2006 Sokak, Gıyâsettin Özdemir Apartmanı No: 10/B, Yenişehir / Mersin
[email protected] +90 532 508 69 98Buy $100.00 more to get free shipping
Your cart is currently empty. Let us assist you in finding the right product.
تفضيلات ملفات تعريف الارتباط